Completed L01-07, wheel pant attach plate assembly. I made the 1/4" FH screw dimple by installing a flathead screw through the 1/4" hole, placing that flat on a solid surface, centering a 9/16 deep well socket on the top side and wacking the socket with a 5# sledge. Ended up with a nice flush dimple without distorting the rest of the plate. I still need to get a 1/4" pilot 100 deg countersink bit for countersink the gear leg. Countersunk the plate for the flush rivets and installed the MS21047-3 (used K1000-3) anchor nuts with SSC-32 rivets. SSC-34 rivets were specifiied on the print, but there seemed too much excess rivet left protruding. Primed and painted the plate as seen in image 3. Layed out, drilled and tapped the brake cable retainer, L01-09 from the 1/2x1/2x3" raw stock in the kit. I layed out the two parts from each end of the raw stock and will cut them apart tomorrow.
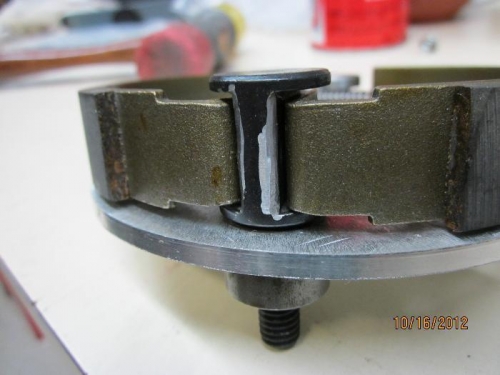
Rounded the edges of the brake shoe cam as indicated on the instructions supplied with the brake components. (Image 2).
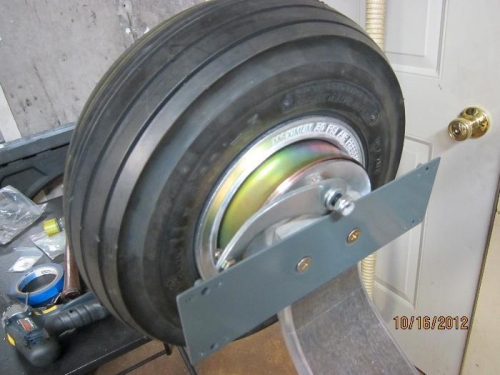
Assembled the brake and wheel components and through drilled the brake backing plate (Image 1).
Bent the LH brake arm to be opposite of the RH arm.